Installation of a cassette Roman blind on a wall or ceiling
1. Bracket installation
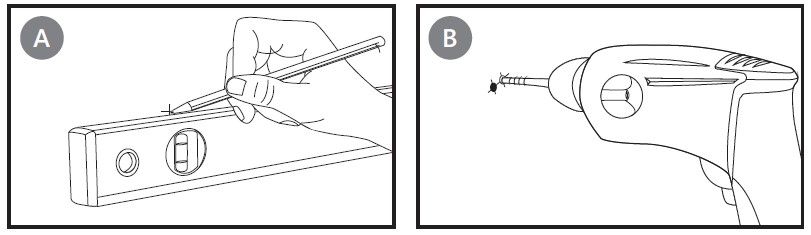
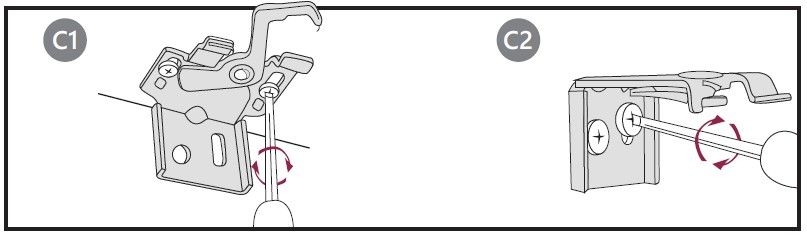
Carefully measure and mark the drilling points for the screws on the wall or ceiling (fig. A). Drill the screw holes. Depending on the type of wall or ceiling, suitable wall plugs may be required (fig. B). Screw the brackets to the wall (fig. C2) or ceiling (fig. C1).
2. Attaching the cassette to the brackets
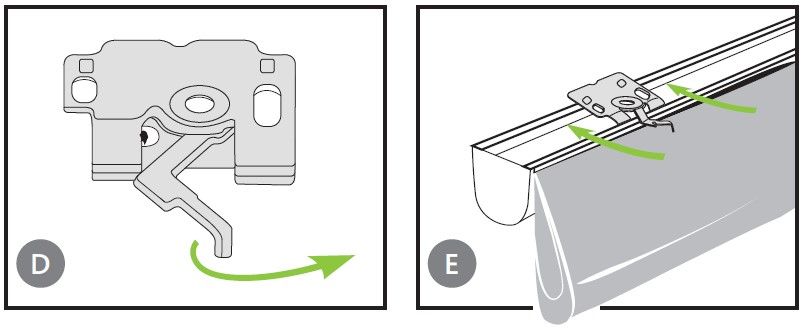
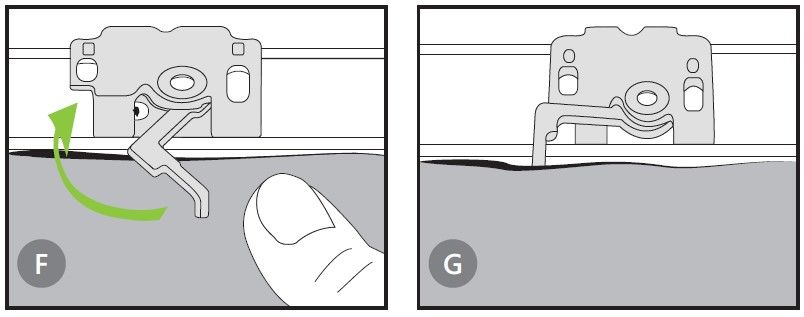
Release the catches (fig. D). Place the blind cassette onto the brackets. Position it from above while gently pressing towards the wall (fig. E). Lock the catches (fig. F). Correctly installed blind (fig. G).
3. Chain tensioner installation
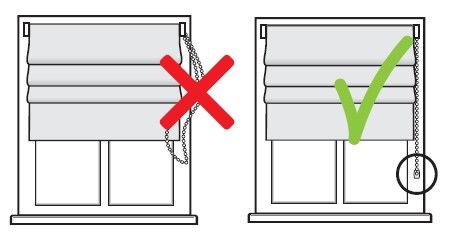
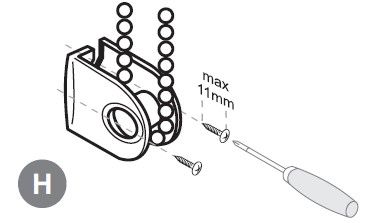
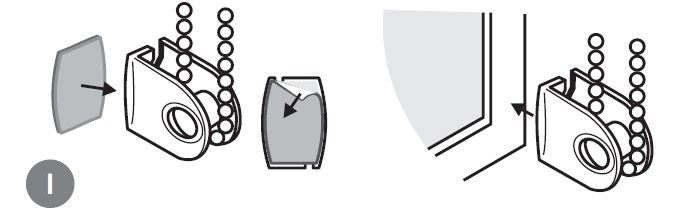
To prevent the chain from hanging loosely next to the window, it is recommended to install the chain tensioner included in the set. Installation using screws (H) or adhesive tape (I).
4. Washing the blind
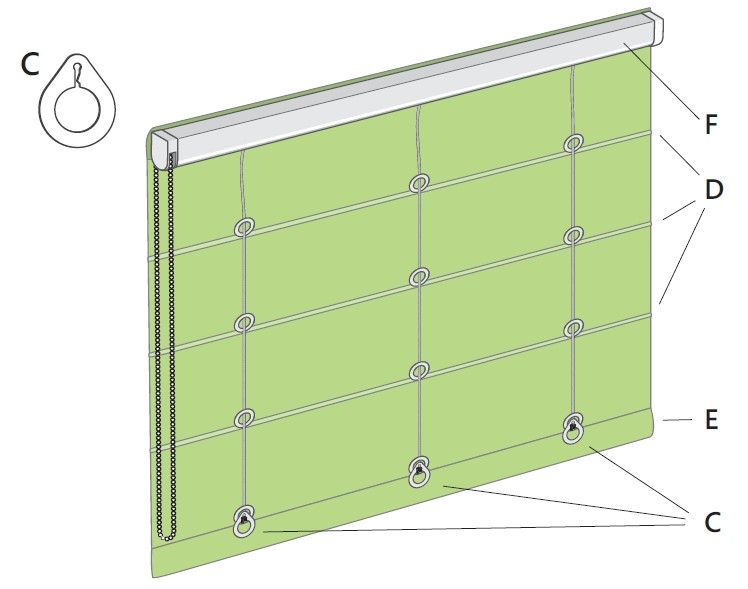
Remove the blind from the mechanism. Firmly pull the cords out of the end connectors (acorns) C, leaving the knots in place. Remove the horizontal support rods (straws) D and the bottom bar E. Detach the metal cassette with mechanism F from the blind (it is attached with hook-and-loop tape). Wash the fabric only, following the care instructions shown on the label.
OUR TIP: Before unthreading the blind cords, take photos of the cord arrangement. This will help you rethread the cords correctly after washing.
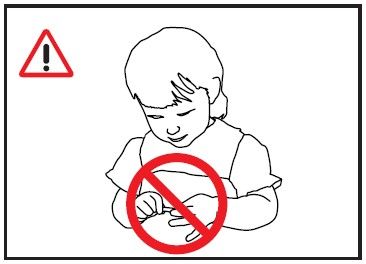
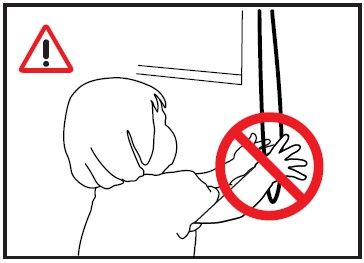
WARNING!
Risk of strangulation!
Keep cords and chain loops out of reach of small children!
The packaging contains small parts!
Small parts may be swallowed and cause choking hazards for children!